glTF workflow with Blender
Blender offers many features to quickly create procedural textures. By synchronising the procedural textures in the Roughness, Base color, Metalness and Displacement parameters of the Principled BSDF shader you can create coherent 3D models.
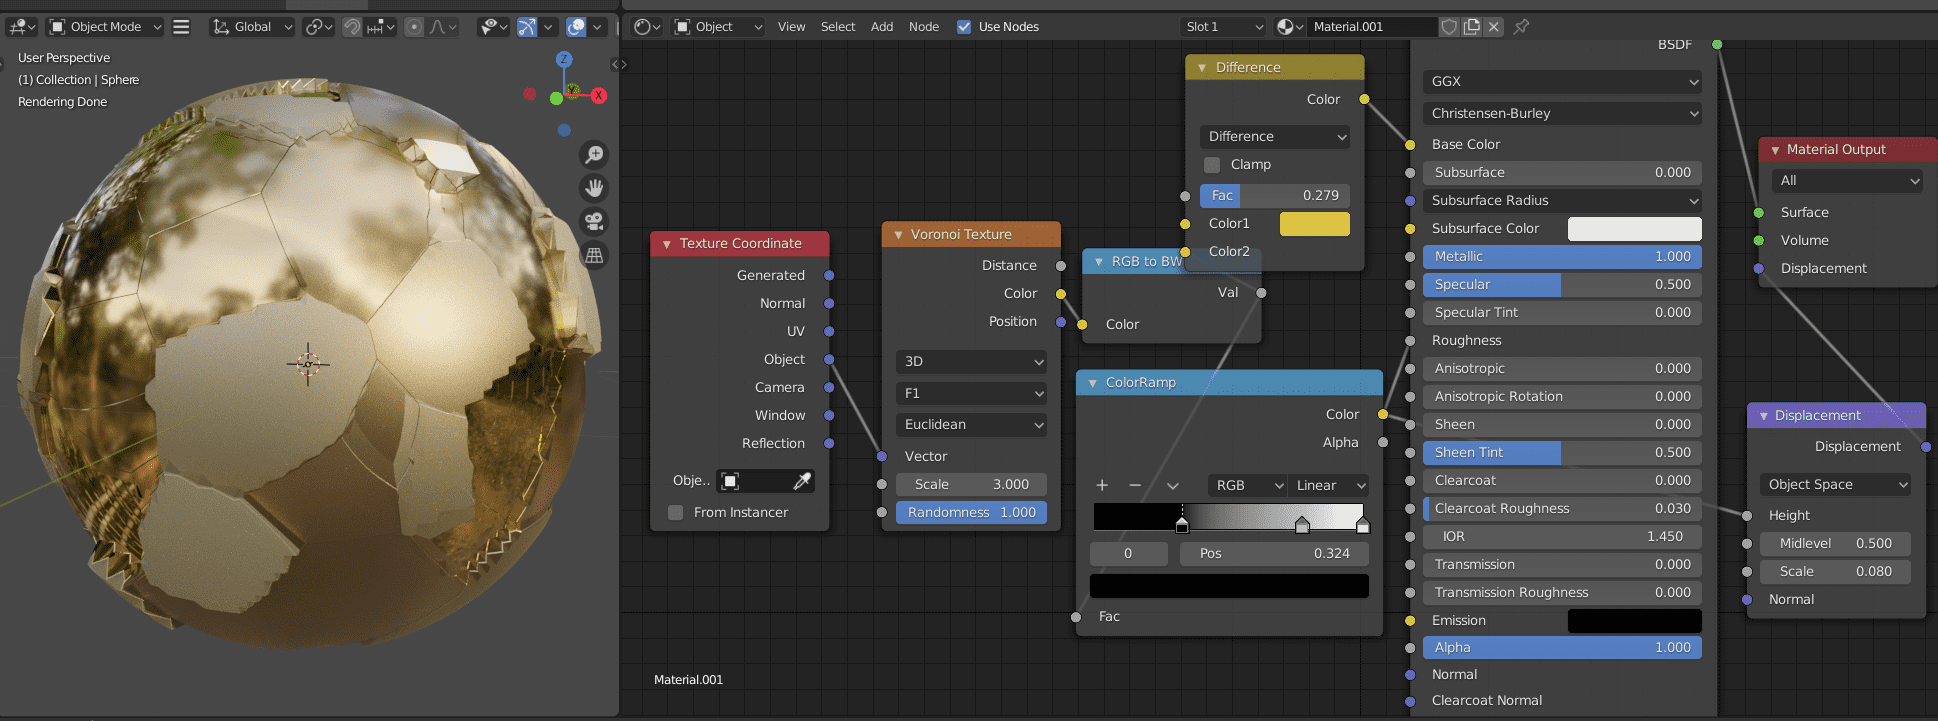
In the example below we use a Voronoi texture to create bumps on a sphere and we reuse this voronoi texture to adapt the roughness and the color of the sphere where the bumps are:
At the time of writing this article, all these options won't work with the glTF export. If you try to export a project like this and load it in a glTF viewer you will most likely get a grey sphere. In this article I show a workflow to export a similar blender project in a glTF format.
Baking the roughness
The secret to making glTF work is baking everything. Baking is the act of converting a calculated parameter into an image texture. The advantage of baking is that everything is staticly encoded into the image texture and nothing has to be computed anymore. The drawback is that everything is staticly encoded and it becomes very difficult to adjust these parameters now.
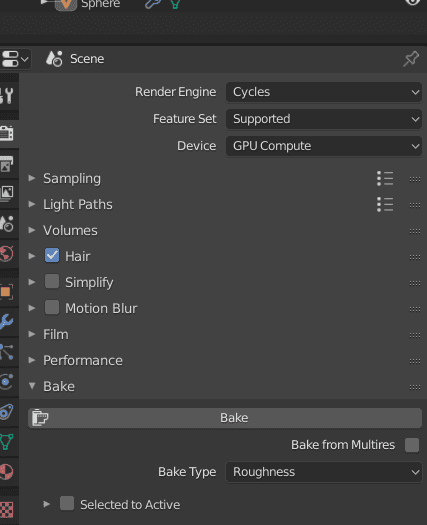
Let's get back to our project. To bake the roughness we start by adding an image texture and a new image named BakedRoughness thanks to the + New button. We select the image texture so that the baked image is saved as BakedRoughness (it should be highlighted with a white line). Then we go to Render properties > Bake and select the bake type Roughness. We make sure the sphere is selected in the object view and click on Bake. The process takes a few seconds and as a result the roughness is saved as an image file.
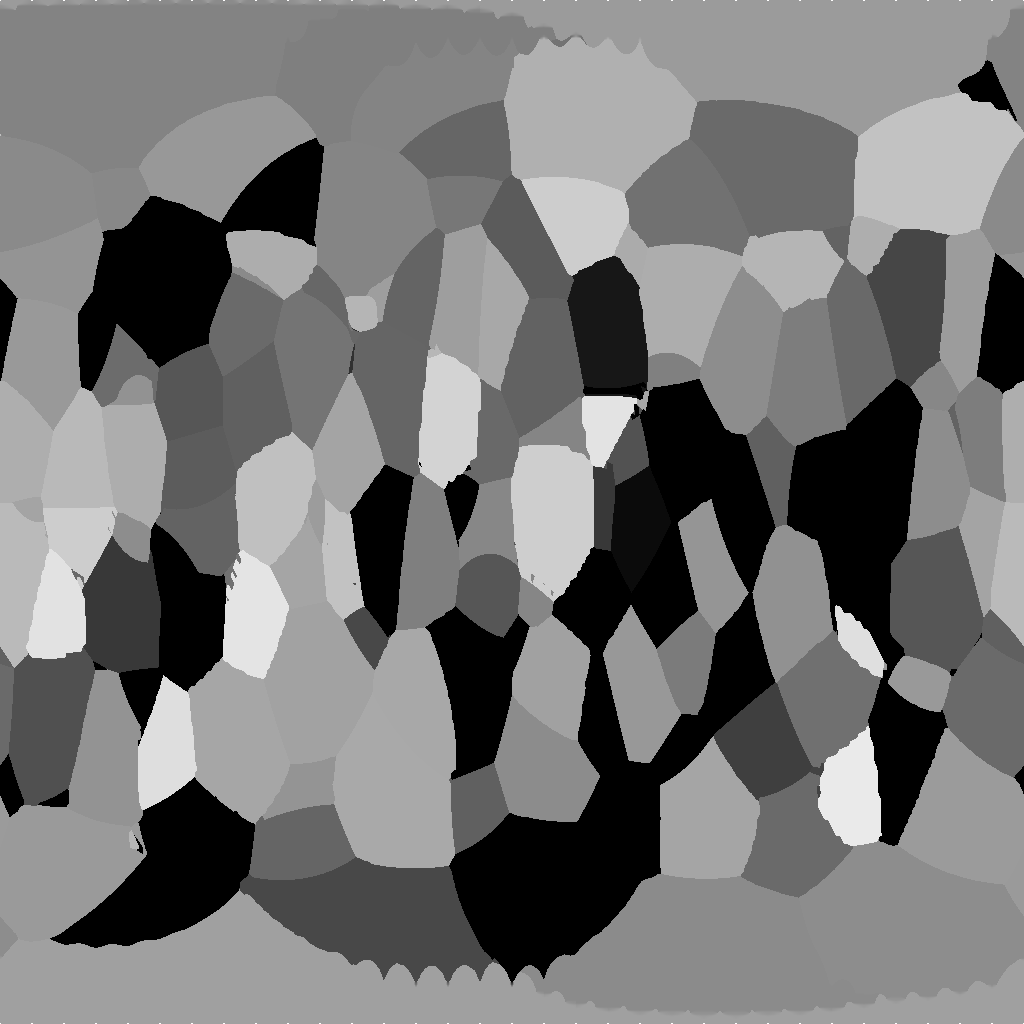
We now have an image texture holding the roughness information in greyscale.
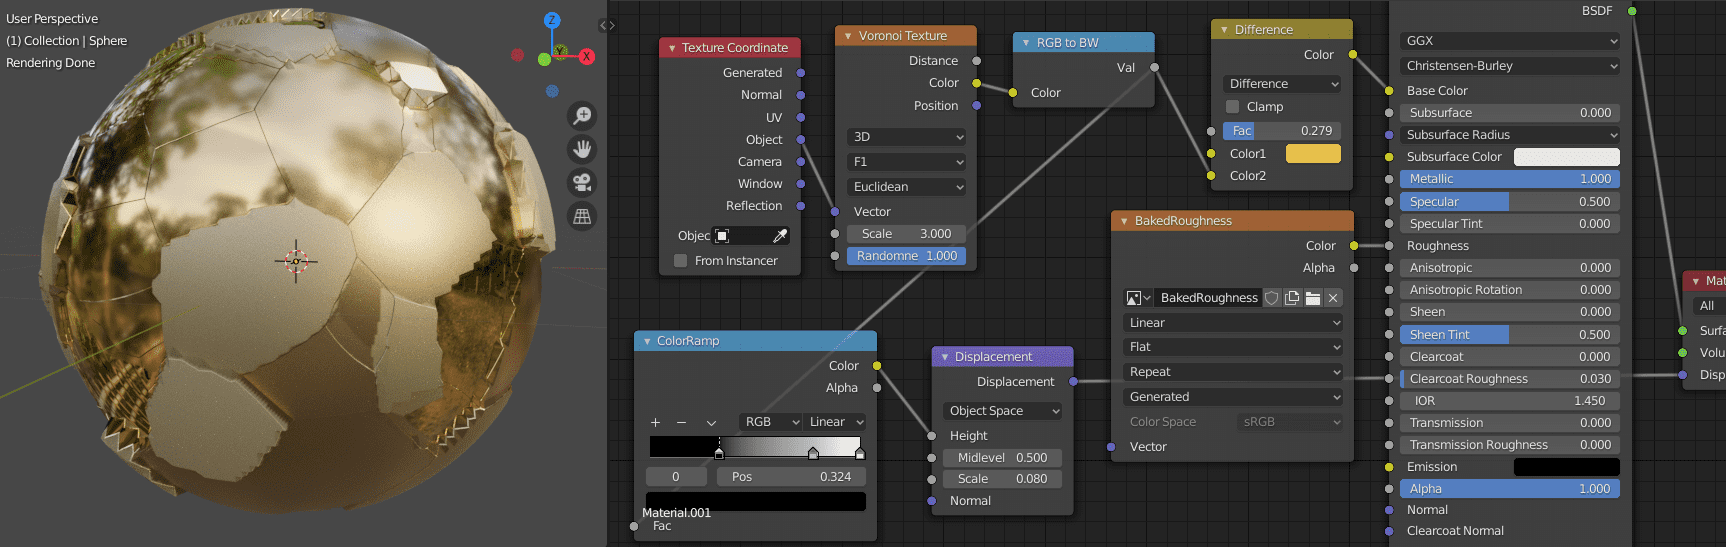
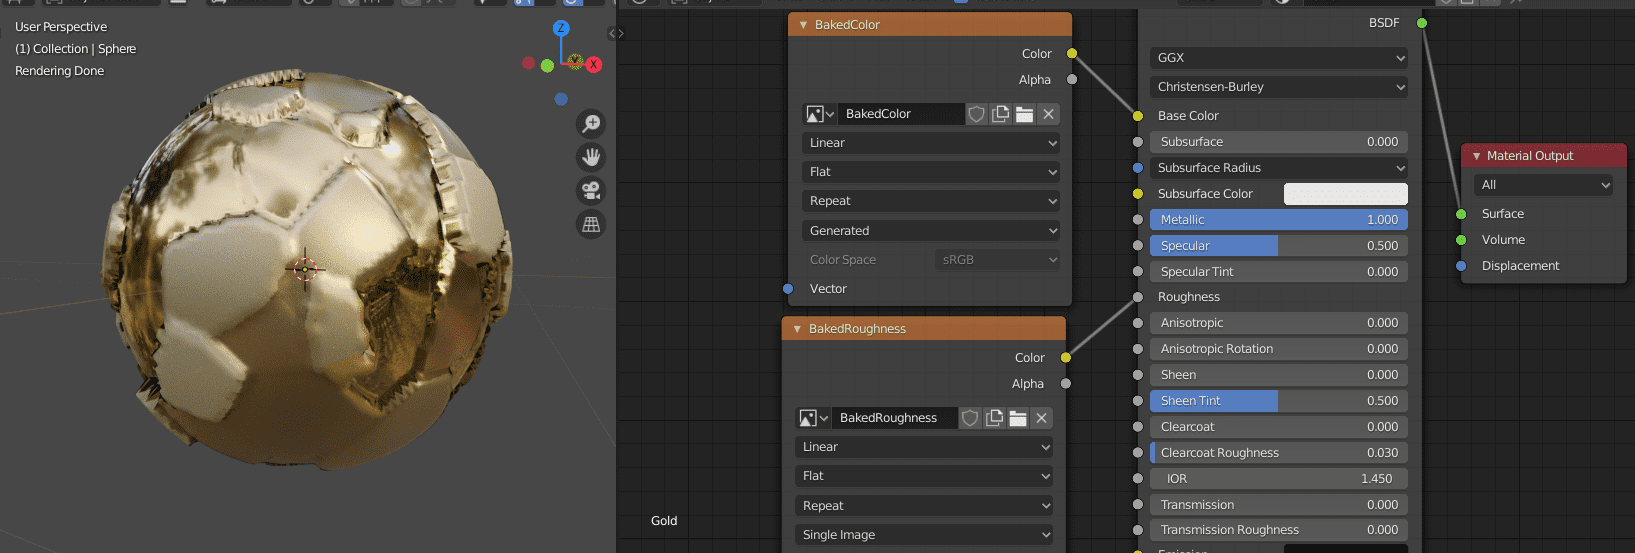
If we replace the current roughness computed from the Voronoi texture from the image texture we just added, we can see that the render is not modified. We managed to extract the roughness information:
We can do the exact same thing with the ambient occlusion, the transmission, the subsurface, the emission, etc.
Baking the colors
Baking the colors is somewhat different than what you would expect. There is no colors bake type. The trick is to use the Emit bake type while removing any emission configured:
- Set the emission to the current base color.
- Create an image texture and a new image named "BakedColor".
- Select the image texture in the shading editor.
- Select the object in the viewport.
- Go to Render properties > Bake and select Emit as the bake type.
- Click Bake.
You should now have an image texture with the object colors.
Baking the displacement
In the example above I use the black and white output of the Voronoi texture to generate a displacement coherent with the roughness and the colors. The result is a sphere where the rough parts are higher (like land on a planet) with lighter colors. At the moment, there is no way to bake the displacement into an image to export it in the glTF format. The proper way to keep the displacement is by modifying the mesh itself. We can do so with a Displace modifier.
- In Modifer Properties we add a Displace modifier.
- In the Displace modifier options add a new texture named FromRoughness.
- Click the button Show texture in texture tab.
- Set the type as Image or Movie.
- Set the image as BakedRoughness.
- Go back to the Displace modifier options and set the Texture Coordinates as UV.
Now you should see a displacement on your object. Play with the strength of the displacement and the brightness and contrast of the image to control the displacement. Note that playing with these values will also affect the roughness, so you might be better off using a copy of the roughness image instead.
As you can see below the result is not exactly identical and would need more tweaking to get the model we started with, yet this is a good start:
In the end our shaders are more simple but less editable. You can export your project in as a glb file in Blender and drop it in Babylon's glTF viewer to see if it works.